
Pre-order inspection
Quick answer
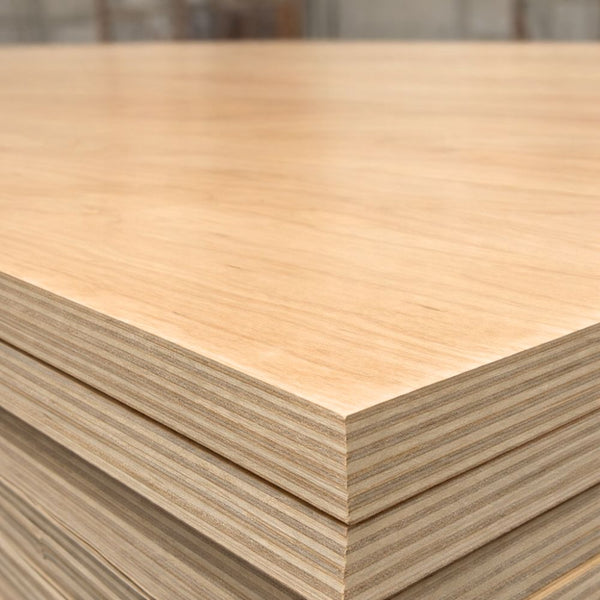
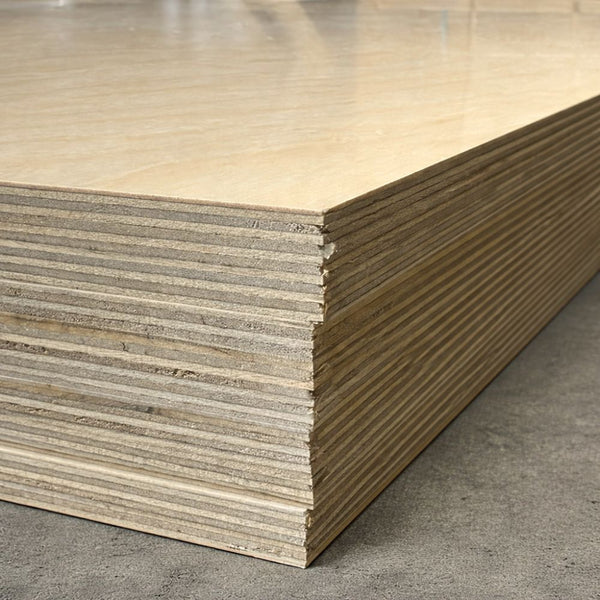
A plywood sample is most useful for checking the things a screen cannot settle: face color and grain, finish sheen, tactile surface, visible edge construction, measured thickness and compatibility with the planned edge treatment. Label the sample with its exact product and variant, inspect it under the project lighting and compare it with the hardware and finishes that will sit beside it.
A small sample cannot prove full-sheet flatness, overall veneer consistency, cutting yield or batch-to-batch color. Use it to narrow the decision, then verify the full-sheet specification before ordering.
Main takeaway
Treat the sample as a controlled approval piece, not a miniature promise of every full sheet. The safest order follows a matched sample, a checked product specification and a documented cabinet cut list.
Why sample first
A small piece can prevent a full-sheet mismatch
Birch, maple and white melamine can all look different after they leave a product page and enter a room. Warm and cool lighting change undertones. Clear finishes change grain contrast. A neighboring white, gray or wood tone can make the same sample read differently.
Sampling is especially valuable when the panel will remain visible. Berta Store’s references on what Baltic Birch plywood is, maple plywood for cabinets and furniture and white melamine plywood explain the material families; the sample lets you judge the exact option in your own finish scheme.
Inspection table
What to check—and what each check tells you
| Check | How to inspect | Useful decision | What the sample cannot prove |
|---|---|---|---|
| Color and grain | View flat and vertical under daylight and installed lighting; place beside adjacent finishes. | Whether the face belongs in the palette and which side should face outward. | Full-sheet grain distribution or lot-to-lot color consistency. |
| Sheen and surface | Tilt the sample toward the light and compare at low and high viewing angles. | Whether reflections, gloss and tactile feel suit the room. | Long-term scratch or chemical resistance without published test data. |
| Actual thickness | Measure several points with calipers; avoid a damaged corner. | Preliminary dado, rabbet, overlay and hardware planning. | The tolerance range across future sheets or batches. |
| Core and edge | Inspect ply count, visible gaps, species appearance and edge quality. | Whether the exposed edge is decorative or needs banding/lipping. | Internal quality across the entire 4 × 8 sheet. |
| Finish coverage | Confirm whether one or both faces are finished and whether the sample matches the ordered variant. | Part orientation and which faces can remain visible. | Finish uniformity over every production sheet. |
| Edge-band match | Place the actual band on the edge and view from normal cabinet distance. | Color, width, thickness and whether contrast is intentional. | Adhesion quality without a process test on compatible equipment. |
| Machining response | Only if the sample is expendable, make a labeled test cut or bore with production tooling. | Early feedback on chip-out and tooling setup. | Yield, flatness or behavior of a full unsupported sheet. |
Five-stage workflow
Turn a loose sample into an approval record
Keep one untouched control sample if another piece will be cut or coated. That prevents the test process from erasing the original reference.
Material-specific checks
Ask different questions of birch, maple and melamine
Baltic Birch
Check the exact face grade or factory finish, the exposed edge and the thickness variant. Do not assume every sample represents the same grade, ply count or surface. The plywood grades explainer helps separate face appearance from the rest of the panel specification.
Maple veneer
Look at grain figure, color range and clear-finish warmth. Rotate the sample because maple can change character with viewing direction and light.
White melamine
Compare the white tone and sheen with the doors, edge band and room lighting. Verify whether the selected full-sheet thickness is finished on one side or both.
Measurements that matter
Record dimensions without over-interpreting them
The plywood cut-list calculator can help organize the production parts, while the plywood sheet-size reference helps distinguish sample dimensions from full-panel formats.
Limits of a sample
What still needs a full-sheet check
- Flatness: a small piece cannot reveal bow or twist across a full sheet.
- Yield: it does not show how grain, defects or finish variation affect the complete cut plan.
- Batch consistency: natural veneer and manufactured surfaces may vary; agree on acceptable range for multi-sheet jobs.
- Internal construction: one exposed edge is not proof of every internal area of a sheet.
- Performance certification: a visual sample does not establish structural, fire, emissions, moisture or exterior-use ratings.
- Delivery condition: inspect full sheets on receipt and follow the current plywood and MDF delivery guidance.
If a documented standard or test value is essential, request the exact product documentation through the Berta Store contact page before approving the order.
Sample options
Choose the sample that matches the intended sheet

Baltic Birch Plywood Samples
Current variants include clear-prefinished, white melamine, B/BB and BB/BB. Select the variant that corresponds to the full sheet being evaluated and confirm its current description.
Choose a Baltic Birch sample
Maple Plywood Sample
The current sample is described as approximately 8.5–10 in with an appearance-grade maple veneer and clear UV finish on both faces. Use it for visual approval, then verify the matching full sheet.
Review the maple sample
Prefinished Plywood Samples
Birch and white melamine options are listed in multiple thicknesses. Match both surface and thickness; the current full-sheet listing describes 3/4 and 1/2 in as two-sided and 1/4 in as one-sided.
Compare prefinished samplesAfter the choice is approved, compare the matching Baltic Birch plywood collection, prefinished plywood collection or the broader plywood catalog.
Frequently asked questions
Plywood sample FAQ
Can a plywood sample tell me the exact thickness of the full sheets?
It gives a useful preliminary measurement only when it matches the exact product and thickness variant. Measure production sheets before machining because panel thickness can have a tolerance and the sample may come from a different lot.
Should I finish or stain the sample?
If the matching sheet will be site-finished, testing the complete surface-preparation and coating schedule is useful. Keep a second piece untouched as a control and remember that veneer color and absorption can vary.
How large are Berta Store plywood samples?
The current sample pages describe pieces as approximately 8.5–10 in. Confirm the individual listing and variant at order time; a sample’s dimensions do not represent the full-sheet format.
Can a sample prove that plywood is void-free?
No. One small edge cannot prove the internal condition of a full panel. Use the exact product description and any applicable manufacturer documentation, then inspect received sheets.
How should I compare two light-colored samples?
Place them on the same plane under daylight and the project lighting, then view them beside the planned doors, counter, floor and edge band. Check both direct and glancing angles because sheen affects perceived color.
What should I do with the approved sample?
Label it, photograph it and keep it protected until the job is complete. For large or phased orders, retain it as a visual reference while recognizing that natural veneer and production lots can vary.
Final check
Approve the material, not just the photograph
A useful plywood sample carries an identity, measurements and an approval decision. Match it to the exact full-sheet product, document what it confirms, note what it cannot prove and keep the reference until installation is complete.
For quantity planning after approval, use Berta Store’s project calculators and verify the final nesting, waste allowance and product specification before purchase.