
Quick answer
A reliable cabinet dowel joint depends on four controlled variables: the actual dowel diameter, a tested hole fit, accurate centerline registration and a repeatable drilling depth. Berta’s current dowel listing is a 2,000-pack of fluted wood pins labeled 5/16 inch × 1-1/2 inches. Those nominal dimensions convert to approximately 7.94 mm × 38.1 mm; they are not exactly 8 mm × 40 mm.
Do not choose an 8 mm bit or split the hole depth by assumption. Measure pins from the actual lot, follow the boring-machine or jig instructions, leave a controlled assembly and adhesive allowance, and validate the setup with scrap from the same plywood or MDF before machining cabinet parts.
Start with joint geometry
A centered equal-depth layout provides a useful first calculation for two parts, but it is not automatically the final machining depth. The pin needs room to seat, glue and displaced air need a path, and the boring equipment may define its own depth convention.
With a 38.1 mm nominal pin and zero allowance, the mathematical split is 19.05 mm per part. That is only a geometry baseline. Establish the actual allowance through the adhesive, pin, jig or machine guidance and a destructive test joint. Never drill a finished panel from the zero-allowance number alone.
Panel-thickness check: the hole must remain safely inside the material after accounting for actual panel thickness, hole location, tool runout and tolerance. A dowel centered in a narrow plywood edge has less margin than the same dowel in a wider solid-wood rail.
What to verify before drilling cabinet parts
| Variable | How to check it | What goes wrong if ignored | Production record |
|---|---|---|---|
| Actual pin diameter | Measure several pins from the lot with a suitable caliper; note flute peaks and the measurement method | Loose fit, crushed fibers or a pin that will not seat | Lot and measured range |
| Actual pin length | Measure multiple pins, not one | Bottoming in one or both holes, open joint line | Measured range and planned allowance |
| Hole diameter | Use the equipment and pin supplier’s matched tooling guidance; test in the actual substrate | Starved glue line, split edge or weak registration | Bit/tool ID and tested result |
| Hole depth | Set with the machine or jig reference system; confirm using a gauge or sectioned test | Pin bottoms before the joint closes or lacks engagement | Depth per member and setup datum |
| Centerline | Reference consistently from the designated face and edge | Flush faces shift, cabinet box racks or edge margin becomes uneven | Reference face, fence setting and program |
| Dowel spacing | Design for the joint load, part length, hardware conflicts and substrate; prototype | Rotation, local splitting or collision with dados and screws | First offset and repeating pitch |
| Adhesive delivery | Follow the chosen adhesive’s instructions and machine requirements | Dry joint, hydraulic resistance, excess squeeze-out or contamination | Adhesive, temperature and assembly window |
A repeatable cabinet doweling workflow
Identify the substrate
Record whether the receiving part is veneer-core plywood, multi-ply Baltic Birch, MDF or solid wood. A setup that feels correct in one material does not automatically transfer to another.
Measure the lot
Sample several pins and confirm the actual panel thickness. Treat the printed inch-to-metric conversion as a reference, not a substitute for measurement.
Map every conflict
Mark dados, confirmat screws, hinge cups, slide hardware and edge-banding operations. The dowel pattern must not intersect another machining feature.
Bore matched scrap
Use offcuts from the same sheet goods and the production reference faces. Inspect entry chipping, breakout risk, centerline accuracy and seating.
Dry-fit before glue
The parts should register and close without destructive force. If they stop early, find the cause rather than increasing clamp pressure.
Glue and test
Follow the adhesive’s application and assembly guidance. Make one representative joint, allow the required cure and section or break a test piece to inspect the result.
Plywood and MDF need different attention
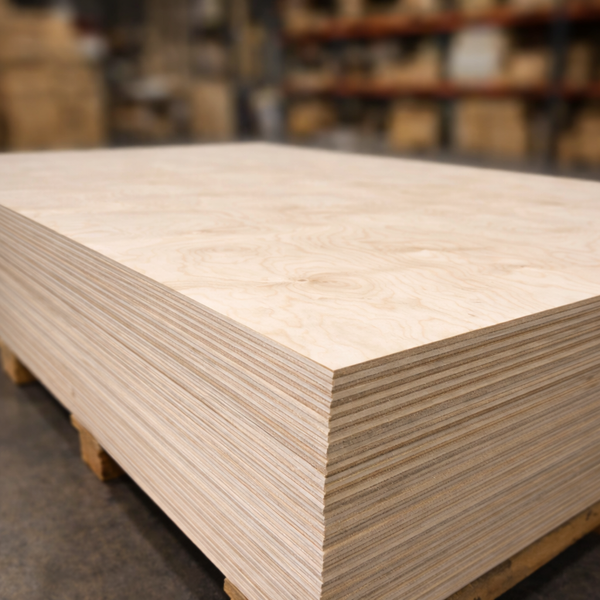
Veneer-core plywood
A hole centered in the panel edge can cross glue lines and different veneer densities. Hidden gaps or overlaps may change the local result. Keep edge margin conservative and test the actual panel construction.
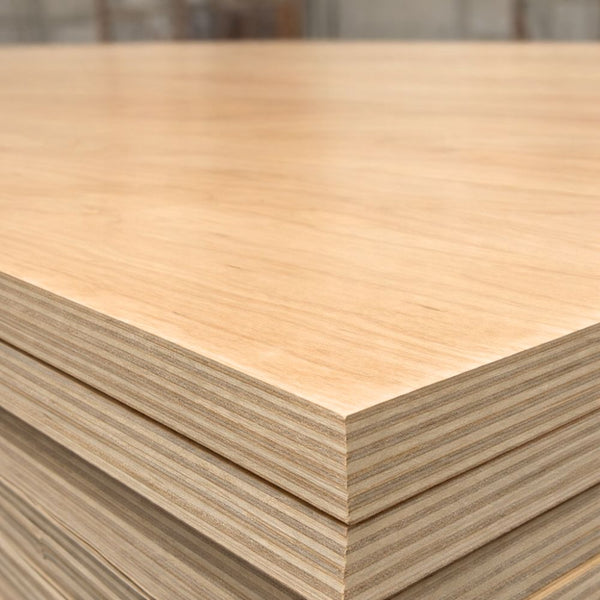
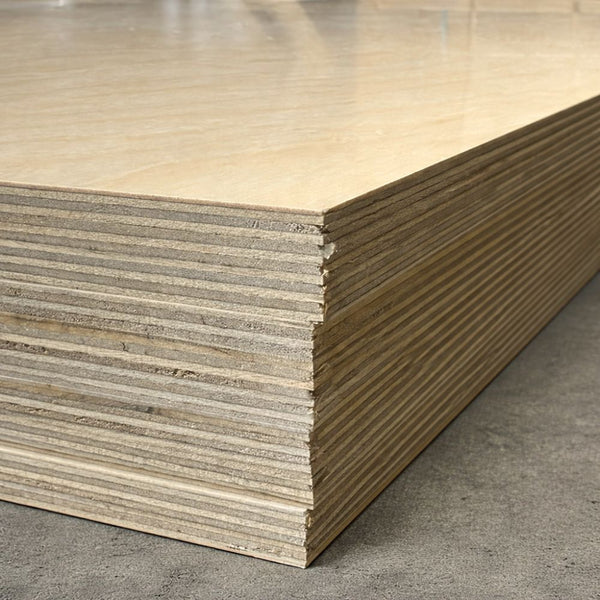
Multi-ply Baltic Birch
More uniform thin layers can make repeat boring predictable, but the face grade and ply count do not replace measurement. Avoid describing a panel as universally void-free based on one edge.
MDF
MDF is uniform but the edge can be less forgiving of an overly tight interference fit. Control boring, dust extraction and adhesive application. A successful plywood setup is not automatic approval for MDF.
Factory-finished panels
Protect the decorative face and decide whether glue squeeze-out can be cleaned without damaging the surface. If an adhesive must contact a coating, use the adhesive manufacturer’s compatibility guidance rather than assuming a raw-wood bond.
When dowels are the right cabinet joint
| Need | Dowel-joint advantage | Watch closely | Consider another method when |
|---|---|---|---|
| Repeat cabinet-box assembly | Registration and hidden fastening can be built into a controlled production process | Datum consistency and boring accuracy | The shop cannot hold repeatable hole location or depth |
| Flat-pack or batch work | Standard patterns can speed alignment | Labeling, part orientation and dry fit | Field assembly needs adjustability or removable fasteners |
| Clean finished faces | No visible screw head on the primary face | Glue cleanup and clamp strategy | The joint needs future disassembly |
| Drawer or shelf components | Small pins can align parts without a large exposed fastener | Thin edge margins and hardware conflicts | The part is too thin for a safe tested hole geometry |
Current Berta dowel pin

5/16 in × 1-1/2 in fluted wood dowels
The current listing is a 2,000-piece pack with fluted or ribbed bodies and beveled ends. It lists the nominal size as 5/16 inch diameter by 1-1/2 inches long—approximately 7.94 mm × 38.1 mm—and advises testing actual pin and drilled-hole fit before finished parts are machined.
Use this product when the joint design, substrate and boring system have been validated for the pin. The product page does not establish a universal hole diameter, spacing schedule, wood species or joint-strength value.
Review the dowel pin listingRelated Berta planning resources
Use the plywood screw-size and joint-geometry article when comparing dowels with straight-drive or pocket-screw assemblies. The cabinet plywood selection guide explains why core construction matters, while the MDF versus plywood cabinet comparison helps separate substrate behavior. For exposed multi-ply edges, review the Baltic Birch construction overview.
Confirm the current cabinet-grade plywood options, compare MDF panels, browse cabinet hardware essentials, estimate panel quantity with the plywood and MDF calculator, translate a box design into material quantities with the cabinet box estimator, and review the Kitchen Makers program for repeat cabinet-shop purchasing.
Frequently asked questions
Is a 5/16-inch dowel the same as an 8 mm dowel?
No. The nominal conversion of 5/16 inch is 7.9375 mm. That difference is small but relevant to a press or glue fit. Measure the actual pins and use tooling approved for the doweling system.
How deep should I drill for a 1-1/2-inch dowel?
The zero-allowance equal split is 19.05 mm per member, but that is not a finished setup. Allowance, adhesive delivery, bevels and machine conventions must be resolved through supplier guidance and a test joint.
Should the dowel be tight before glue?
It should register without destructive force, but “tight” is not a measurable specification. Approve the fit with the actual pin, substrate, tooling and adhesive process.
Can the same dowel setup be used in plywood and MDF?
Not without testing. The core structure, edge behavior and interference tolerance differ. Build representative scrap joints in each substrate.
How far apart should cabinet dowels be?
There is no universal spacing that this product page establishes. Joint load, part size, substrate, edge margin, machinery and conflicts with other hardware all matter. Use an engineered or equipment-specific pattern and validate it.
Sources and scope
Berta product scope: current specifications and image for the 5/16-inch × 1-1/2-inch wood dowel pin, 2,000 pack, reviewed October 22, 2026.
Adhesive context: Titebond Doweling Glue guidance documents one machine-applied doweling adhesive, including its specific temperature and assembly-time limits. Those instructions apply to that adhesive, not automatically to another glue.
Calculation scope: inch-to-millimeter conversion and equal-depth geometry are editorial calculations. Hole diameter, final depth, spacing and joint capacity are not established by the Berta listing and must be set by the actual boring system, adhesive and tested substrate.